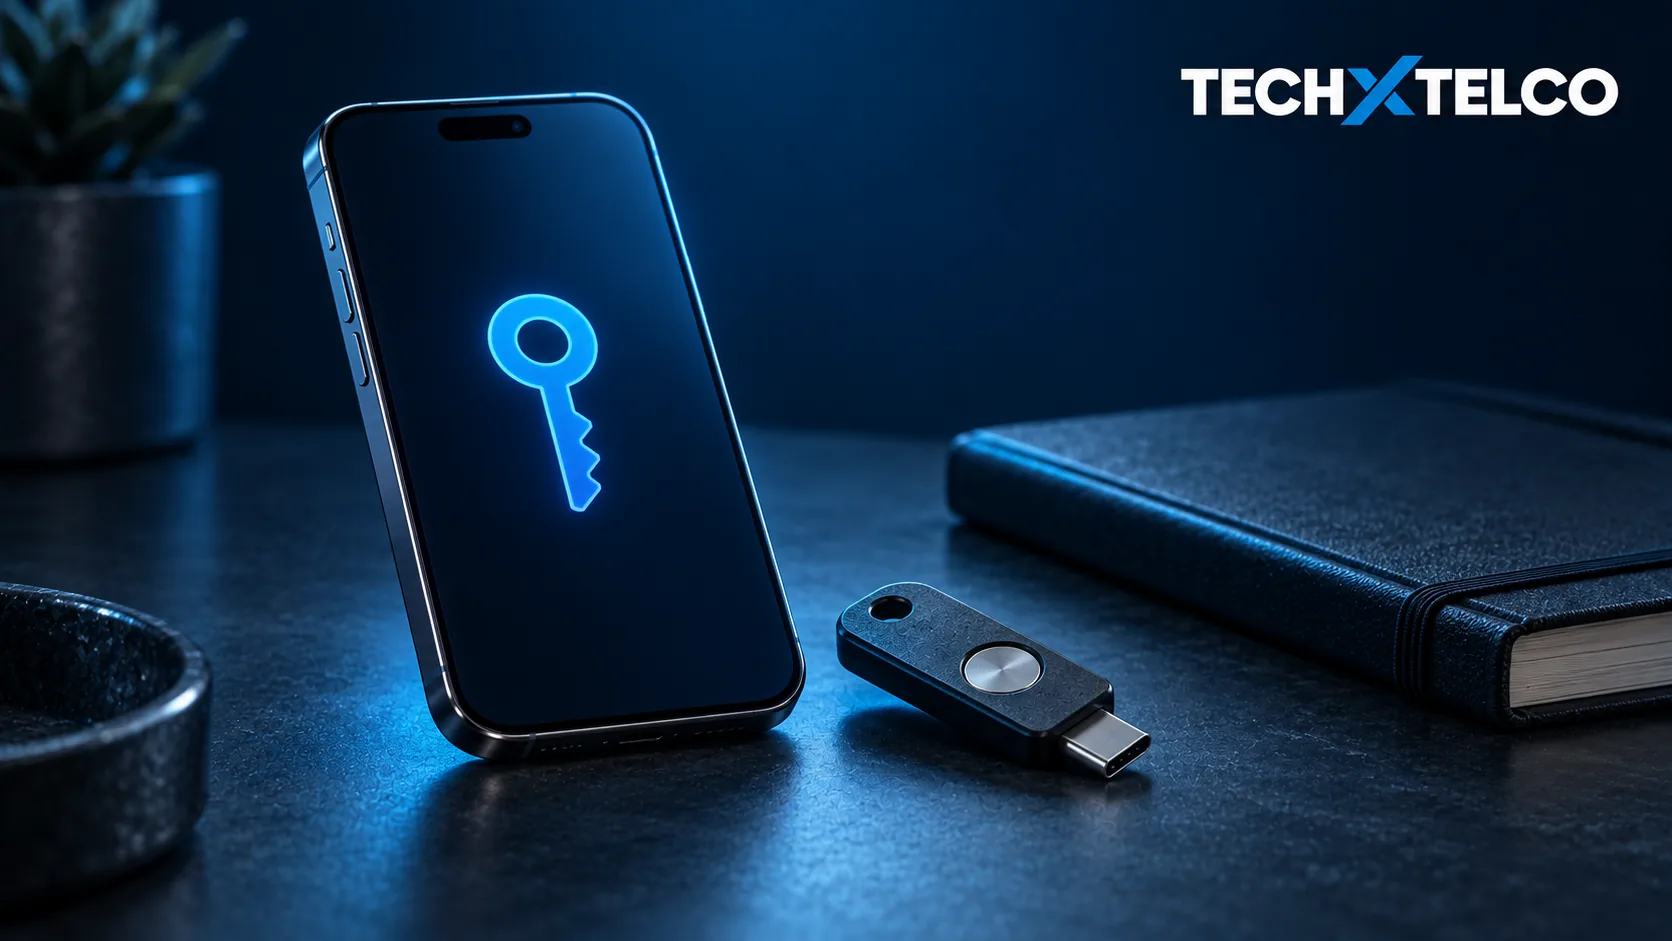

A passkey lets you sign in without typing the account’s password. The part worth understanding before you start is where that passkey will live—and how you would regain access if the device holding it disappeared.
What you need to know
Try one account on a device you personally control. Check its recovery options, create the passkey using the provider’s instructions, and test another sign-in before removing any existing way back in.
What changes when you use a passkey?
Instead of supplying a password to the website, you approve access using a passkey held by your device, a compatible password manager or a physical security key. Unlocking it can involve your fingerprint, face or device PIN. The Australian Cyber Security Centre recommends passkeys for stronger protection against password theft and phishing.
The familiar unlock gesture can make the process feel simpler. But your device lock now matters a great deal: do not create personal passkeys on shared or employer-owned equipment. The ACSC recommends using trusted devices and keeping a second hardware key as backup when using FIDO2 keys.
1. Decide where you want it stored
Before approving the creation prompt, read which device or password manager is being offered. Do not click through just because the account name looks familiar. If you cannot explain where the credential is going, pause and look up that provider’s instructions.
Some passkeys can sync across devices through their credential provider; others remain tied to a device or hardware key. Do not assume a passkey will appear on your next phone simply because your photos do.
2. Check recovery while you can still sign in
Our suggestion is to make a short private note of the account, the passkey provider and the recovery method you have checked. Do not put passwords, recovery codes or device PINs into an ordinary shared document. The purpose is to know which service to return to, not create a new pile of exposed secrets.
Ask yourself a concrete question: if this phone were unavailable tonight, what would I use tomorrow morning? Follow the account provider’s recovery guidance to answer it before making changes. A second device that depends entirely on the missing phone for access may not be the fallback you expected.
3. Start with one account
For a personal Google Account, Google’s instructions point to the account’s passkey sign-in options. Create a passkey on a supported device you own, with screen lock enabled, and follow the identity checks. Google says fingerprint and face-unlock data stay on the device.
Google Account passkey settings
Keep your current session available while trying a fresh sign-in. Confirm which account you are accessing, especially if the browser holds both work and personal accounts. This is our suggested verification step; we have not performed it on your account.
4. Do not confuse passwordless sign-in with deleting the password
Google explicitly says adding a passkey does not remove existing authentication or recovery factors. Its password-first preference can also be changed. That is different from assuming your old password has stopped working everywhere.
The ACSC recommends disabling password login once passkeys are established. Whether and how you can do that depends on the service. Follow its supported process after checking your recovery route, rather than looking for a universal switch that every account must have.
If the phone is lost or you are replacing it
Google advises removing a passkey associated with a lost or stolen device from your account using a device you can access. Its Try another way option can offer existing sign-in alternatives. Other services have their own recovery and removal processes.
Before wiping an old phone, make your important accounts part of the handover. Open each on the replacement device, check that the expected sign-in works, and confirm you still recognise the recovery options. Treat this as a deliberate check, not something to discover at the shop after the old device has been erased.
Passkeys can make daily sign-in easier. A few minutes spent understanding storage and recovery are what make that convenience dependable. This guide is based on provider documentation, not a hands-on migration test.
Michel Elijah covers technology, streaming and online security for Tech X Telco. He writes practical how-to guides on everything from email troubleshooting to spotting the latest scams doing the rounds in Australia, with a focus on clear steps anyone can follow.
Spotted something wrong? Corrections are recorded in the open. Report a correction