
In the fast-paced world of mobile technology, a SIM card replacement is something you might need more often than you think.
Whether you’re changing service providers, upgrading your device, or dealing with a damaged SIM card, the process can seem a little daunting at first. However, with the right steps, tools, and preparation, it’s a straightforward task that can be done quickly and easily.
In this guide, we’ll walk you through the reasons for replacing a SIM card, what you need to know about SIM compatibility, how to safely swap your card, and tips to ensure a smooth activation process.
Why You Might Need a SIM Card Replacement
There are several reasons you may find yourself needing a SIM card replacement:
- Switching to eSIM: As eSIM technology becomes more common, many users are opting to replace their physical SIM with an eSIM for added convenience.
- Provider Changes: If you’re switching carriers, you’ll need a new SIM card compatible with your new network.
- Damaged SIM Card: A lost SIM card or one that’s damaged could render your phone inoperable, and replacing it is essential to regain service.
- Upgrading Devices: Many newer phones use different SIM card sizes or types, requiring a SIM swap to fit the new model.
- Phone Number or Plan Changes: Some carriers issue new SIMs for major plan upgrades or when transferring phone numbers between devices.
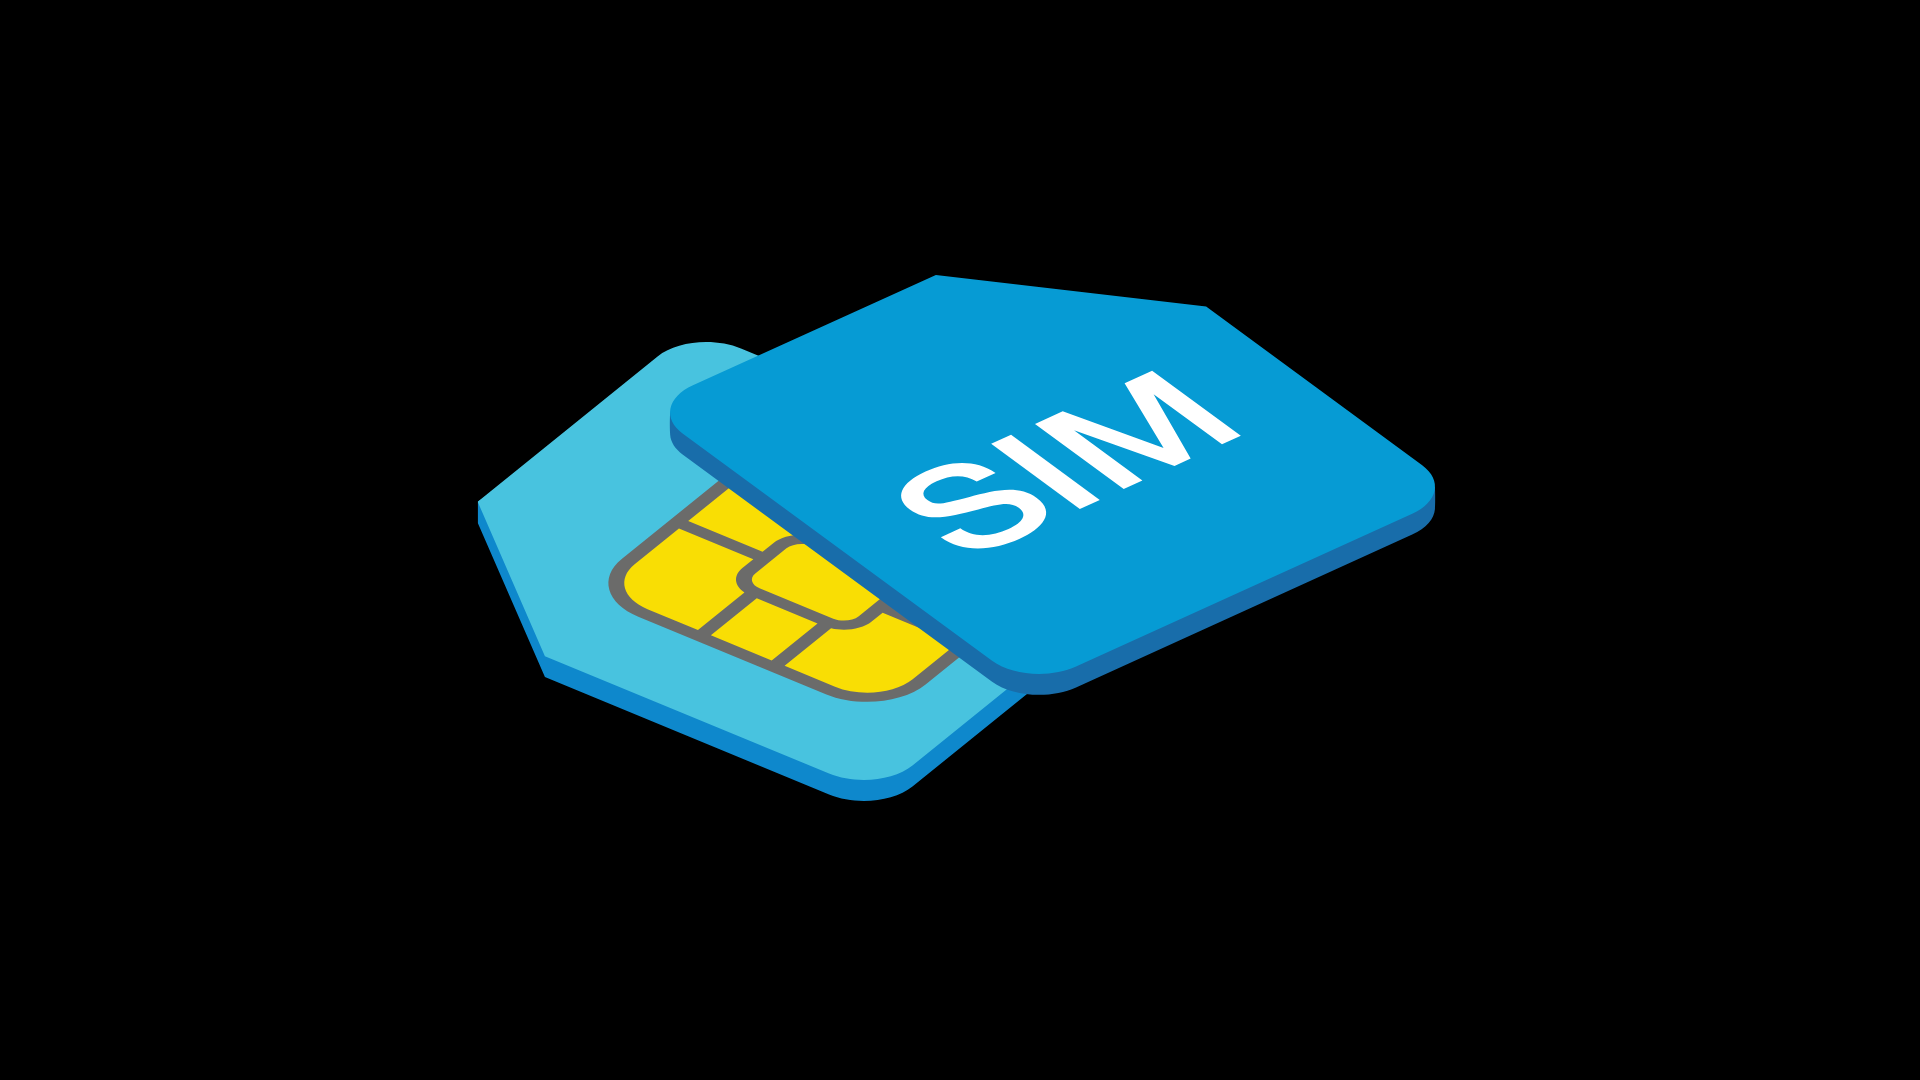
Types of SIM Cards and Compatibility
SIM cards come in various sizes and types, including:
- Standard SIM: The original, largest version of the SIM card.
- Micro SIM: A smaller version, still used by many older smartphones.
- Nano SIM: The smallest SIM card, now common in most modern smartphones.
- eSIM: An embedded digital SIM that doesn’t require physical swapping but must be activated by your carrier.
To find out what type of SIM card your phone uses, you can compare your phone model using this handy tool from GSMArena.
Just search for your phone, scroll down, and it will tell you the type of sim-card your device requires. It’s also important to know your device’s SIM requirements before you order a new SIM card or transition to an eSIM.
Converting to eSIM
If you’re thinking of moving to an eSIM (embedded SIM), the process is even easier since there’s no physical card to handle.
Many newer phones support eSIM technology, allowing you to activate your carrier plan digitally without needing to insert a card. Here’s how you can convert to an eSIM:
- Check Compatibility: Not all phones support eSIM. Most modern iPhones (iPhone XS and newer) and some Android devices do. Evidently, Make sure your device supports eSIM before proceeding.
- Contact Your Carrier: Reach out to your mobile carrier to request an eSIM. In many cases, they’ll send you a QR code via email, which you can scan with your phone to complete the activation.
- Scan the QR Code: On your phone, go to Settings > Mobile > Add Cellular Plan, and scan the QR code your carrier provided.
- Activate the eSIM: After scanning, your carrier will activate the eSIM, and you should be ready to use your phone without needing a physical SIM card. This process usually only takes a few minutes.
Converting to an eSIM is a great option if you’re tired of handling physical SIM cards or frequently switch between mobile providers.
What to Prepare Before Replacing Your SIM Card
Before performing a SIM swap or moving to an eSIM, it’s crucial to ensure you’re fully prepared. Here are a couple of essential steps you should take:
Backup Messages and Data: In some cases, SIM cards may store text messages and other important data.
Furthermore, make sure everything is backed up, whether to a cloud service or directly to your device, just in case something goes wrong during the transition.
Backup Contacts: Likewise, if your contacts are saved directly on your SIM card, it’s important to upload them to a cloud service, such as Google Drive or iCloud, or transfer them to your device’s internal memory.
This way, you’ll avoid losing critical contact details when switching to a new SIM card.
We can’t stress enough the importance of these steps. Losing all your contacts can be a significant inconvenience, especially when trying to retrieve information from two different SIM cards.
Ensuring your data is backed up beforehand will save you a lot of hassle.
Tools to Open the SIM Tray
To replace a physical SIM card, you’ll need the right tool to open your phone’s SIM tray. Depending on your phone model, you might use:
- Battery Removal: Some older phone models require you to remove the battery to access the SIM card slot. Check your phone’s manual for specific instructions.
- SIM Ejector Tool: This small metal tool comes in the box of most iPhones and some other devices. It’s also often included with your new SIM card.
- Paperclip: If you don’t have the ejector tool, a paperclip is a great alternative. Simply unfold it and use the pointed end to eject the SIM tray.
How to Activate a Replacement SIM Card
Once your new SIM card or eSIM is in place, activation is the next step. Activation ensures that your phone connects to your mobile carrier’s network. Here’s how it works:
- In-store Activation: If you replace your SIM card at a carrier store, the staff will typically complete the activation for you. This process usually takes just a few minutes, and your phone should be ready to use immediately.
- Remote Activation: If you’re activating your replacement SIM or eSIM over the phone or online, it may take a little longer. Activation can take up to 24 hours in some cases, so don’t worry if it doesn’t happen instantly.
Here are a few troubleshooting tips if activation is delayed:
- Restart Your Device: Turning your phone off and back on can help the device reconnect to the network.
- Toggle Network Mode: Go into your phone’s network settings and switch airplane mode on and off to help force the network to reconnect.
If these steps don’t resolve the issue, contact your carrier for further assistance.
Conclusion
Whether you’re replacing a physical SIM card or switching to an eSIM, the process is simpler than it seems.
With the right tools, preparation, and clear instructions, you’ll have your device back up and running straightaway.
Just remember to back up your data, check compatibility, and follow the activation steps for a smooth transition.